If you’ve got a home security system, you’ll probably hear a beeping sound coming from the control panel at some point, warning you it’s time to replace the batteries.
This should be pretty simple, right? You’ve changed a few hundred batteries in your day. Well, it’s definitely easy enough to change your alarm system batteries on your own without calling in an expert. That said, there are a few steps you’re going to want to take to do it just right.
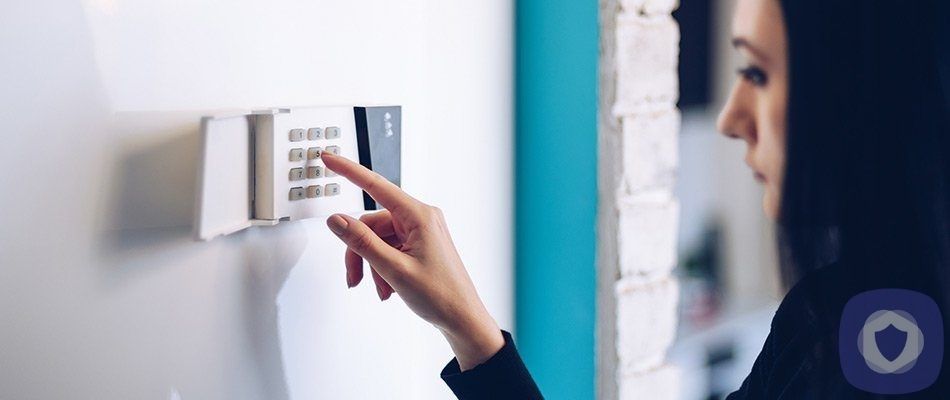
Step One: Determine which batteries need changing
Whether it’s making a sound or just flashing some strange lights at you, your control panel might be the thing that needs new batteries. Then again, the panel could just be alerting you to the need to change out the power source for your any of your home security system components that run on batteries.
Any of the following could be causing a low battery alarm:
- Smart door locks
- Smart thermostat
- Smart smoke/carbon monoxide alarms
- Door/window sensors
- Wireless cameras (both indoor and out)
Not sure which part of your home alarm system needs new batteries? Check the manual that came with your system; it should have a guide to trouble codes that can help you pinpoint what’s going on.
Step Two: Determine which type of battery you need
Some system components run on standard issue 9 volt or AA batteries, requiring a quick run to the grocery store. Others — such as wireless cameras — come packaged with special lithium batteries that can be recharged right at home. Check for a battery door which can be slid open to view the existing batteries.
No luck? It’s likely time to call the company that installed the equipment or check in with the manufacturer. Be sure to have the make and model number on hand, so the customer service person on the other end of your call can pinpoint exactly what battery you’ll need.
Step Three: Call your monitoring company
If you pay a company for regularly monitoring, and you haven’t already called them to confirm the battery type, now’s the time to hop on the phone. Changing the battery may knock the component offline momentarily or cause a tamper alert to sound. Letting them know ahead of time that you’re just doing a battery change will prevent a call from them or a police officer showing up on your front doorstep.
Step four: Install the battery
This should be the easy part, especially if you’ve already spotted the battery panel. If you run into trouble, check your security company’s website for tutorials (or give them a call).
Step Five: Run a test.
Once the battery is in place call your monitoring company (if you have one) back to let them you’re all set. They can walk you through a test to ensure everything was installed properly (and you didn’t somehow end up with a dud battery). If you don’t have a monitoring company, check your manual or the manufacturer’s website for steps on running a test.
Bottom line
Every make and model of home security system is different, so home alarm batteries may last longer in some systems, shorter in others. As long as you stay on top of any alarms, however, you should be able to keep your home system running smoothly.
This article has been reviewed and approved by Officer Banta.

Officer Banta is the official SecurityNerd home security and safety expert. A member of the Biloxi Police Department for over 24 years, Officer Banta reviews all articles before lending his stamp of approval. Click here for more information on Officer Banta and the rest of our team.